🧶 Crochet Beanie: Create a Beautiful Knit Look Wooly Hat That’s Stylish & Cozy
Wrap Your Head in Warmth and Style
There’s a unique kind of satisfaction in creating something with your own hands. A sense of comfort, pride, and creative expression that can’t be matched by anything bought off a shelf. When you slip on a crochet wooly hat that you made yourself—especially one that looks like it’s been knitted—it hits differently. It’s not just warm; it’s personal. Whether you’re crafting for yourself, your loved ones, or starting a new hobby, making a knit look crochet beanie is a rewarding journey. And don’t worry, even if you’re just getting started, you’ll find this guide clear and beginner-friendly.
What Is a Knit Look Crochet Beanie?
Understanding the Knit-Look Texture in Crochet
You might be wondering, how can a crochet project look like it’s been knitted? That’s the magic of specific crochet stitches that mimic the smooth, “V” pattern of knitting. These stitches create a thick, structured texture while keeping the ease and speed of crochet.
Key techniques include:
- Waistcoat stitch (aka knit stitch): Gives the most authentic knit look
- Slip stitch in the back loop: Perfect for ribbing
- Back loop only (BLO) single crochet: Adds elasticity and texture
Why Choose Crochet Over Knitting?
You might have heard that knitting gives better results for hats, but that’s not entirely true. Here’s why crochet wins, especially for beginners:
- Quicker to learn and complete
- Fewer tools required (usually just one hook)
- Easier to fix mistakes
- Creates a sturdier, warmer fabric
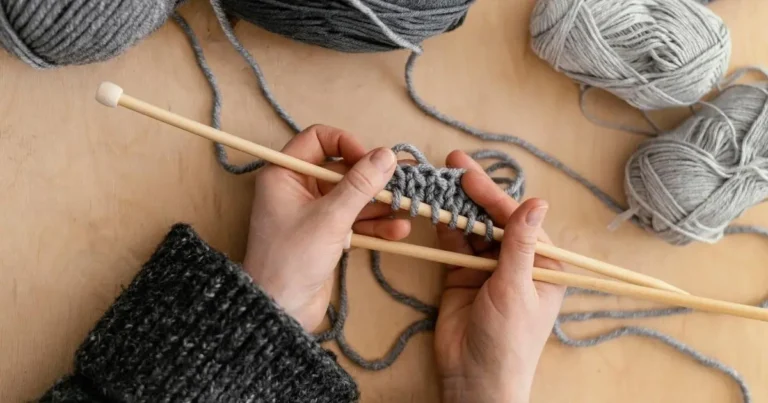
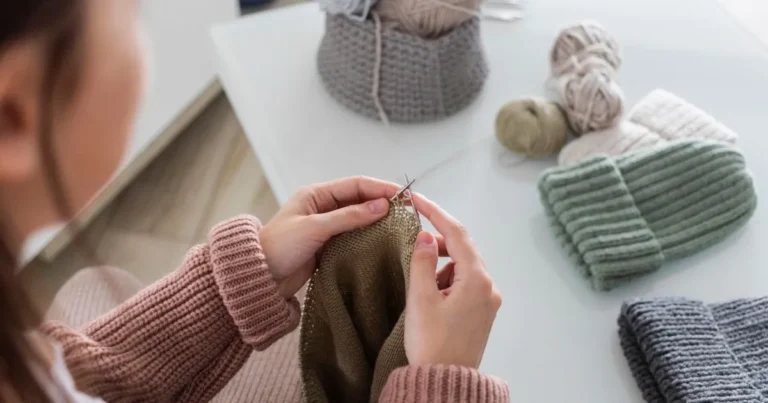
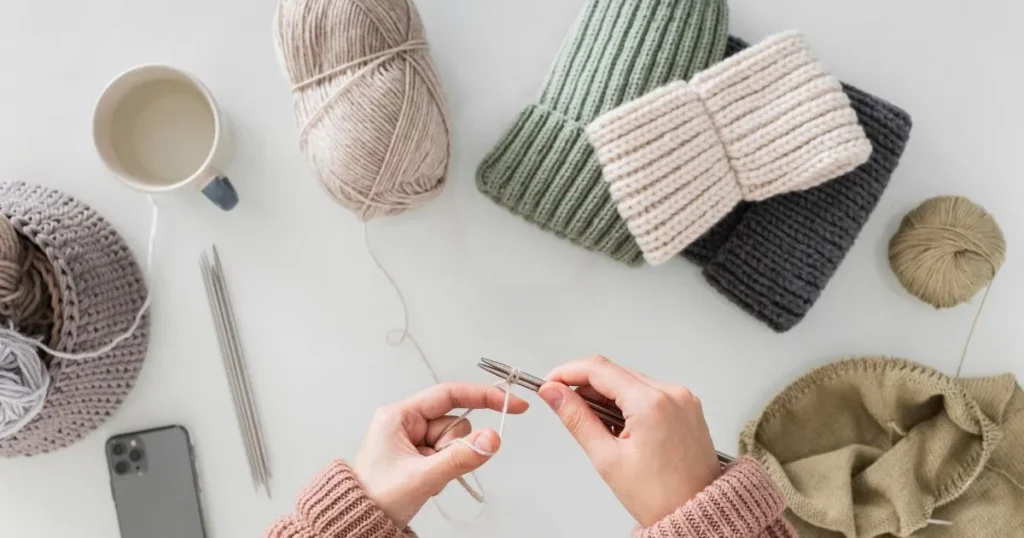
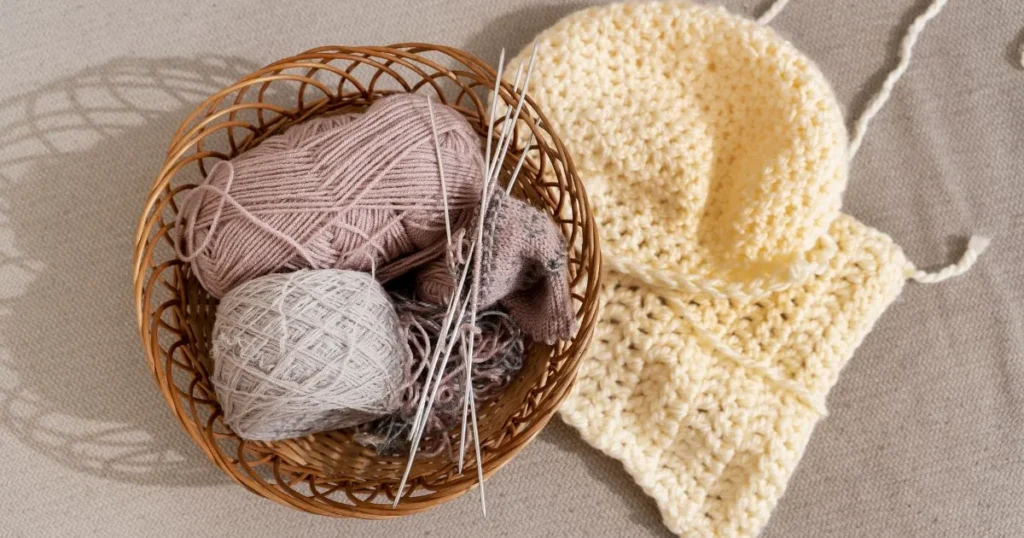
Tools & Materials for Making a Crochet Wooly Hat
Before diving in, make sure you’ve gathered the right supplies. Quality tools and materials make all the difference in both the crafting process and the final product.
Essential Supplies
| Item | Recommended Specs |
| Yarn | Worsted Weight or Chunky Wool Blend |
| Hook | 5.0mm – 6.5mm (US H-K) |
| Tapestry Needle | For weaving in ends |
| Stitch Marker | Helps keep track of rounds |
| Measuring Tape | Ensures accurate fit |
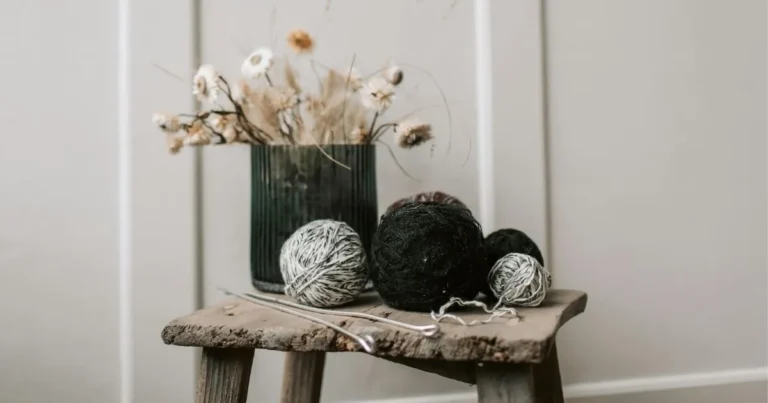
Best Yarns for Knit Look Crochet Beanies
Not all yarns are created equal. For a beanie with a knit-like appearance, you want something that gives structure and warmth:
- Wool or wool-blends (best for warmth and durability)
- Acrylic yarn (budget-friendly and hypoallergenic)
- Alpaca or merino (luxury softness for sensitive skin)
Pro Tip: Choose solid or slightly heathered colors to highlight the texture of your stitches.
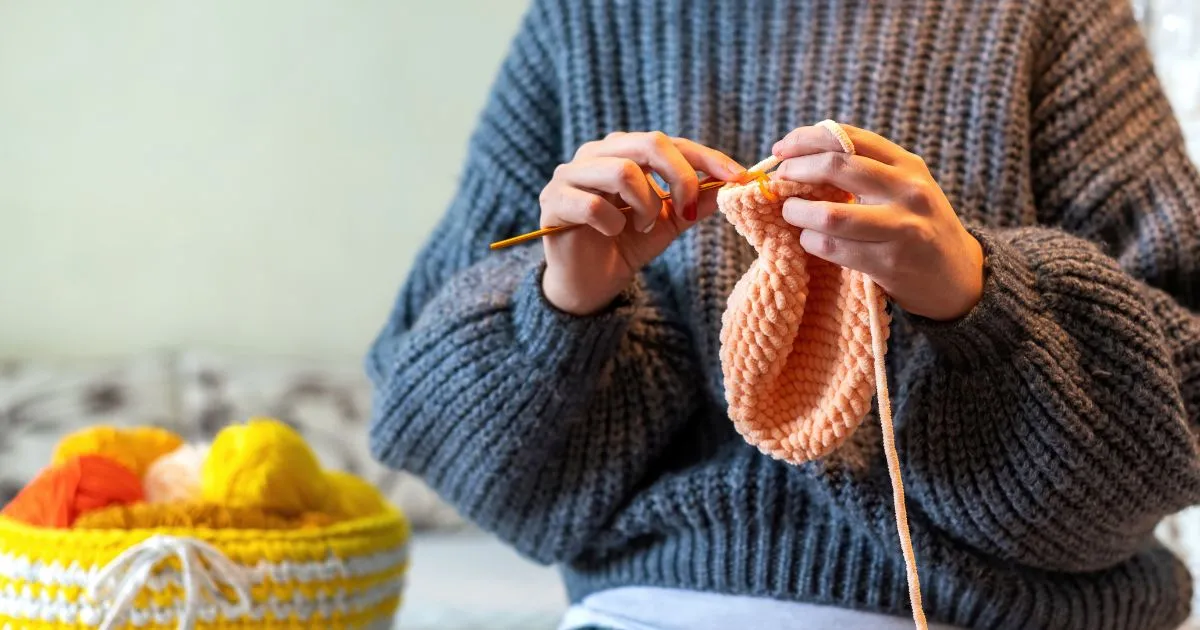
Step-by-Step: How to Crochet a Knit Look Beanie
Step 1 – Choose Your Pattern & Gauge
Patterns using knit-mimicking stitches will typically call for tighter tension. Before jumping in, crochet a small swatch to check your gauge. This ensures your hat fits just right.
Step 2 – Create the Ribbed Brim
Start by crocheting the brim using a ribbing stitch. Most use:
- Single crochet in the back loop
- Half double crochet in the back loop
These create a stretchy band that hugs your head comfortably.
Step 3 – Build the Body of the Hat
After seaming the brim, work upward to build the body. Popular stitches here include:
- Waistcoat stitch: Insert hook into the center of the stitch below (not the top loop)
- Slip stitch in the back loop: Slow, but gives crisp, clean lines
Continue until the height reaches about 8-10 inches for adults.
Step 4 – Shape the Crown
Begin decreasing to taper the top of your beanie:
- Decrease evenly every few rounds
- Once you reach about 6 stitches, fasten off and use a tapestry needle to cinch the top closed
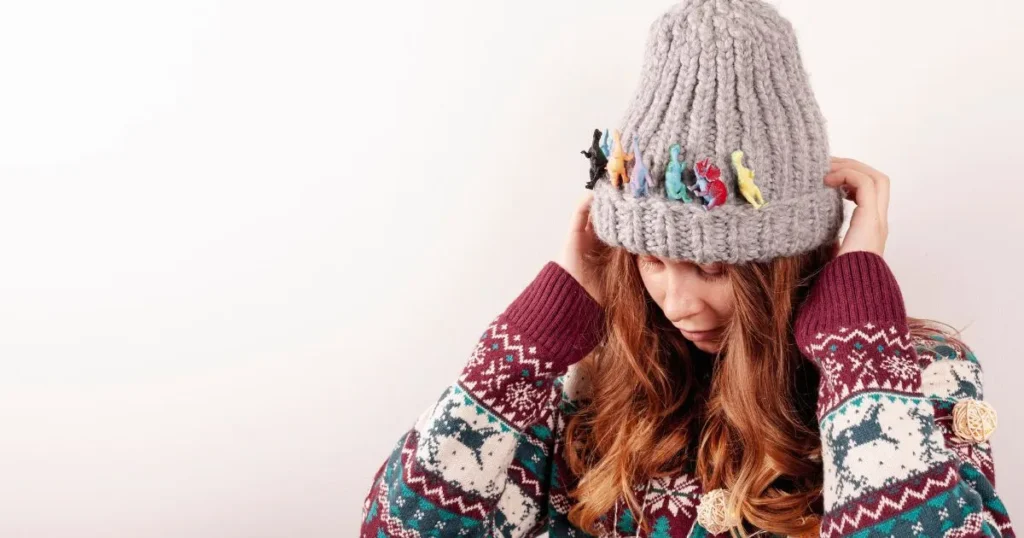
Step 5 – Add the Final Touches
Make your beanie one-of-a-kind with:
- Pom poms (faux fur, yarn-made, or button-on)
- Tags or buttons
- Color stripes or embroidery
Popular Knit Look Crochet Beanie Patterns to Try
Whether you’re looking for easy or intricate, there’s a pattern to suit your skill level and style:
Beginner-Friendly:
- Basic Knit-Look Beanie: Uses waistcoat stitch and back loop ribbing
- One-Hour Chunky Hat: Perfect for last-minute gifts
Intermediate to Advanced:
- Spiral Faux Knit Beanie: Beautiful textured swirl
- Convertible Beanie-Cowl: Multifunctional wear
- Cabled Crochet Hat: Complex stitches that mimic traditional knit cables
Resources: Ravelry, Etsy, AllFreeCrochet
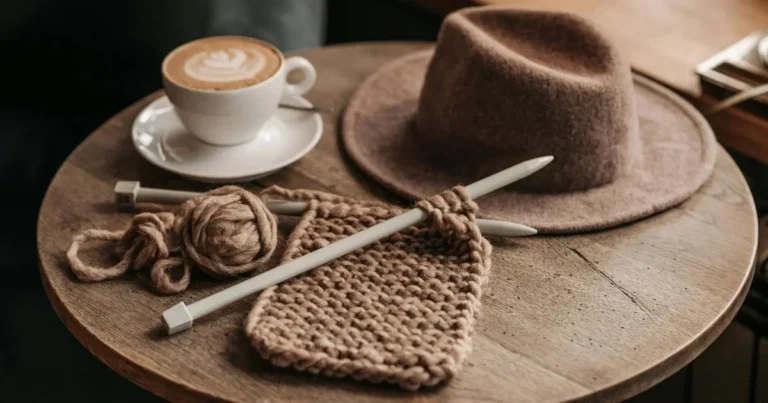
Styling & Gifting Your Crochet Wooly Hat
Fashion Pairings
Your handmade beanie can become a centerpiece in your winter wardrobe. Match it with:
- Chunky knit scarves
- Long wool coats
- Fingerless gloves or mittens
Neutral colors like grey, black, and beige offer versatility. For bold statements, try mustard yellow, forest green, or berry red.
Handmade Gift Ideas
These hats make heartfelt gifts:
- Christmas and winter holidays
- Birthdays in colder months
- Baby showers (adjust sizing!)
Packaging Tips
Give it a polished look:
- Wrap in kraft paper with a twine bow
- Include a handwritten tag with care instructions
Care & Maintenance of Crochet Wooly Hats
Taking care of your beanie extends its life and keeps it looking fresh.
Washing Tips
- Hand wash in cold water with gentle soap
- Avoid harsh detergents and bleach
- Lay flat to dry—never hang or wring it out
Storing During Off-Season
- Store in breathable cotton bags
- Use cedar balls or lavender to deter pests
- Avoid storing in plastic or damp areas
Common Mistakes to Avoid When Crocheting a Knit Look Beanie
Don’t let avoidable missteps slow you down. Watch out for these:
- Ignoring gauge: Results in a hat that’s too tight or too loose
- Using the wrong yarn: Stretchy yarns work best
- Crocheting too tightly: Knit-look stitches need space to breathe
- Skipping stitch markers: Easy to lose track of rounds
- No crown shaping: Leads to a flat or boxy finish
Comparison Table: Crochet vs Knit Wooly Hats
| Feature | Crochet Wooly Hat | Knit Wooly Hat |
| Learning Curve | Easier for beginners | More complex techniques |
| Speed | Generally faster | Slower to complete |
| Texture | Dense and structured | Soft and stretchy |
| Tools Needed | One hook | Two needles |
| Customization | High | Moderate |
Frequently Asked Questions (FAQ) About Crochet Wooly Hats
How do I make a crochet wooly hat look like it’s knit?
Use waistcoat stitch or slip stitch in back loop. These mimic the “V” pattern of knitting while still using crochet techniques.
What size should my crochet beanie be?
| Age Group | Head Circumference | Hat Height |
| Baby | 14-16″ | 6-7″ |
| Child | 17-20″ | 7-8″ |
| Adult | 21-23″ | 8-10″ |
Always measure the recipient’s head before starting.
Can I use cotton yarn for a knit look crochet beanie?
Cotton lacks the elasticity of wool or acrylic, which may make the hat feel stiff or loose over time. If you’re in warmer climates, consider a cotton blend for breathability.
Is a crochet wooly hat warm enough for cold climates?
Absolutely. When made with wool or acrylic yarn and tight stitches, it holds heat well and blocks wind effectively.
How long does it take to crochet a knit-look beanie?
Expect anywhere from 2 to 6 hours, depending on:
- Skill level
- Yarn weight
- Stitch type
Conclusion: Make Winter Warmer with Your Own Knit Look Crochet Beanie
There’s a special charm in making your own winter accessories. With a little time and yarn, you can create a crochet wooly hat that looks just like it was knit by a pro. Beyond its warmth, it carries your story—every stitch, a moment spent creating something with purpose. Whether you’re making one for yourself, a loved one, or even a small business, your handmade beanie is more than just a hat. It’s a keepsake.
So, why not start today? Grab your favorite yarn, choose a hook, and get cozy with your next project. The cold doesn’t stand a chance when you’ve got creativity on your side.