DIY Birthday Cards Ideas: Creative & Heartfelt Ways to Celebrate Loved Ones
Why DIY Birthday Cards Are More Than Just Paper
Think about the last birthday card you received. Did it make you smile? Did you keep it tucked away in a drawer because it felt too special to throw out? That’s the power of a card—especially one made by hand.
When you create a DIY birthday card, you’re not just folding paper. You’re adding your personality, your thoughtfulness, and your creativity into something your loved one can hold onto forever. Unlike store-bought cards that thousands of people may have purchased, your card becomes a one-of-a-kind keepsake.
In this guide, you’ll discover not only creative DIY birthday card ideas, but also practical tips, supplies to use, and even messages to write. Whether you’re a seasoned crafter or a complete beginner, you’ll walk away with inspiration to design something unforgettable.
Why Choose DIY Birthday Cards Over Store-Bought Ones?
Sure, store-bought cards are convenient. But handmade ones are meaningful. Here’s why many people (and likely you too) lean toward DIY cards:
- Personal Connection – You can customize every detail to reflect the recipient’s personality.
- Budget-Friendly – Materials like cardstock, glue, and markers cost much less than premium cards at shops.
- Eco-Friendly – Recycled paper or plantable seed cards reduce waste.
- Emotional Value – The time and effort you put in makes the card priceless.
Table: DIY vs. Store-Bought Birthday Cards
| Feature | DIY Birthday Cards | Store-Bought Cards |
| Personalization | 100% customizable | Limited designs |
| Emotional Value | High (handmade effort) | Medium |
| Cost | Low to moderate | Often higher |
| Sustainability | Eco-friendly options | Depends on brand |
When you weigh these differences, it’s easy to see why DIY birthday cards are more than just an option—they’re the better choice.
Essential Supplies for DIY Birthday Cards
You don’t need a full art studio to make beautiful cards. Most supplies are things you may already have at home.
Basic Tools:
- Cardstock or thick craft paper
- Scissors and glue
- Colored markers and pens
Creative Add-ons:
- Washi tape and stickers
- Stencils and embossing tools
- Ribbon, buttons, or fabric scraps
Digital Touch:
- Printable designs you can download online
- A Cricut or Silhouette machine for precision cutting
Tip: Keep everything in a labeled craft box so you’re always ready when inspiration strikes.
Creative DIY Birthday Card Ideas You Can Try
1. Simple & Minimalist Birthday Cards
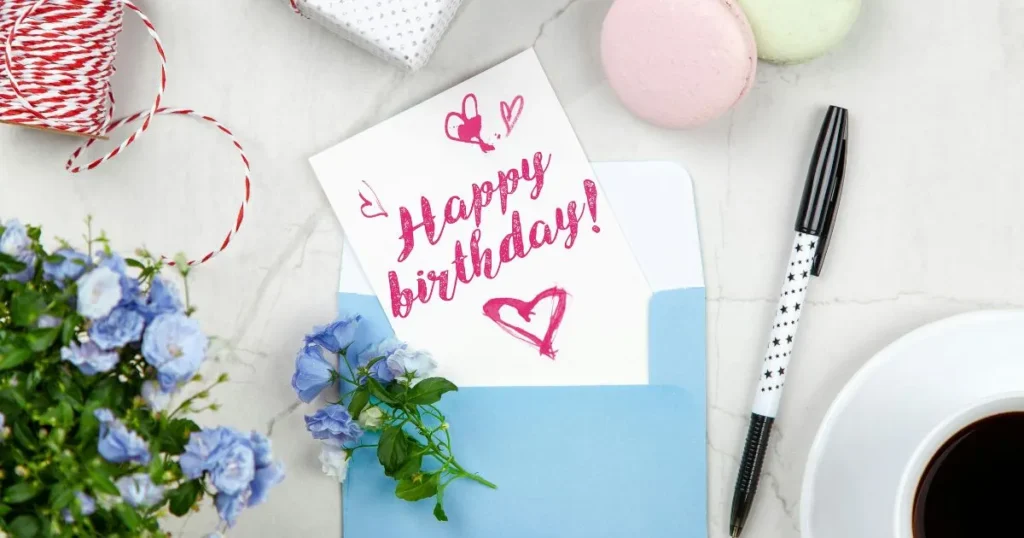
If you like clean designs, stick with bold lettering, pastel colors, and a few hand-drawn doodles. A minimalist style feels modern and chic, and it’s perfect for beginners.
2. Pop-Up Birthday Cards
Imagine opening a card and a three-dimensional cake appears inside. Pop-ups add a delightful element of surprise. You can create balloons, hearts, or even a birthday gift box with just a few clever folds.
3. Photo Memory Birthday Cards
Combine your favorite photos with scrapbook-style layouts. For example, print a small picture of you and your friend and glue it inside the card with a personal caption. It transforms the card into a mini memory book.
4. Kids’ DIY Birthday Card Ideas
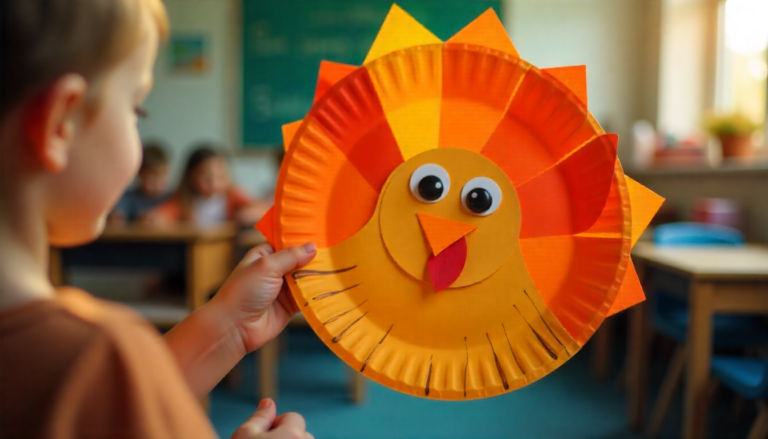
If you’re crafting with children, keep it fun and simple. Finger painting, paper cut-outs, or glitter glue are perfect activities. Not only will your kids enjoy making them, but the recipient will cherish the child’s creativity.
5. Eco-Friendly Birthday Cards
Sustainability meets creativity here. Use recycled materials, old magazines, or even plantable seed paper. Imagine giving a card that grows into flowers when planted—that’s unforgettable.
Step-by-Step Guide: How to Make a DIY Birthday Card
Step 1: Plan Your Design
Think about the recipient’s personality. Do they love bright colors, nature, or minimal designs? Sketch a rough layout before you begin.
Step 2: Craft the Base
- Fold cardstock into your desired card size.
- Add a base layer of paint, patterned paper, or markers.
Step 3: Decorate the Card
- Attach photos or 3D elements.
- Use washi tape for borders.
- Draw small illustrations or doodles.
Step 4: Add a Personal Message
Your words matter as much as your design. Write from the heart instead of relying on generic lines.
Step 5: Finishing Touches
Glitter, ribbon bows, or even a wax seal can make your card look like a piece of art. Don’t forget to pair it with a decorated envelope.
DIY Birthday Card Messages & Wording Ideas
Sometimes you know what you want to say but struggle to put it into words. Here are some ideas for different tones:
Heartfelt Messages
- “Your friendship is the best gift of all.”
- “May your day be as special as you are.”
Funny Messages
- “You’re not getting older, just more legendary.”
- “Another year older, but still fabulous!”
Family Messages
- For Mom: “Thank you for always making my birthdays magical. Today, it’s your turn.”
- For Sibling: “Growing up with you was the best gift life gave me.”
Kids’ Messages
- “Wishing you a day full of cake, balloons, and endless fun!”
Quick Tips for Making DIY Birthday Cards Stand Out
- Use layering techniques with paper for dimension.
- Personalize with the recipient’s initials or favorite colors.
- Mix textures: try fabric patches, pressed flowers, or foil accents.
- Save time with printable templates you can decorate yourself.
FAQ: DIY Birthday Cards
Q1: What is the best material for DIY birthday cards?
Cardstock works best because it’s sturdy, holds decorations well, and looks professional.
Q2: How long does it take to make a handmade birthday card?
A simple design may take just 15 minutes. A detailed pop-up or scrapbook card could take an hour or more.
Q3: Are DIY birthday cards cheaper than store-bought ones?
Yes, especially if you use recycled materials or craft supplies you already own.
Q4: Can I make DIY birthday cards without artistic skills?
Definitely. Templates, stencils, and printable designs make it easy for anyone.
Conclusion: The Joy of Giving DIY Birthday Cards
At the end of the day, a DIY birthday card is more than just paper and decorations. It’s your way of saying, “I care enough to make this for you.” Whether you keep it simple with markers or go all out with pop-ups and photos, your handmade card will always be remembered.
So, the next time you’re celebrating someone’s special day, don’t reach for the store shelf. Reach for your crafting supplies, pour your creativity into a design, and give a gift that truly comes from the heart.

