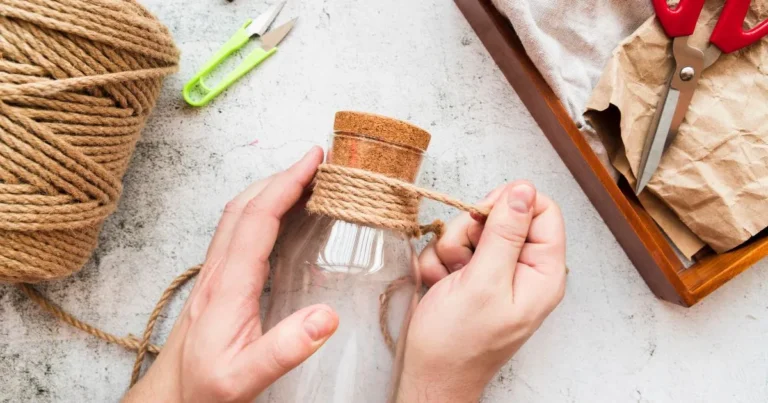
Recycled Bottles Turned into Enchanting Fairy Lantern Houses
You can make your home more magical by turning a simple container into a glowing fairy lantern house. This project is not just fun. It also helps reduce waste and supports the environment.
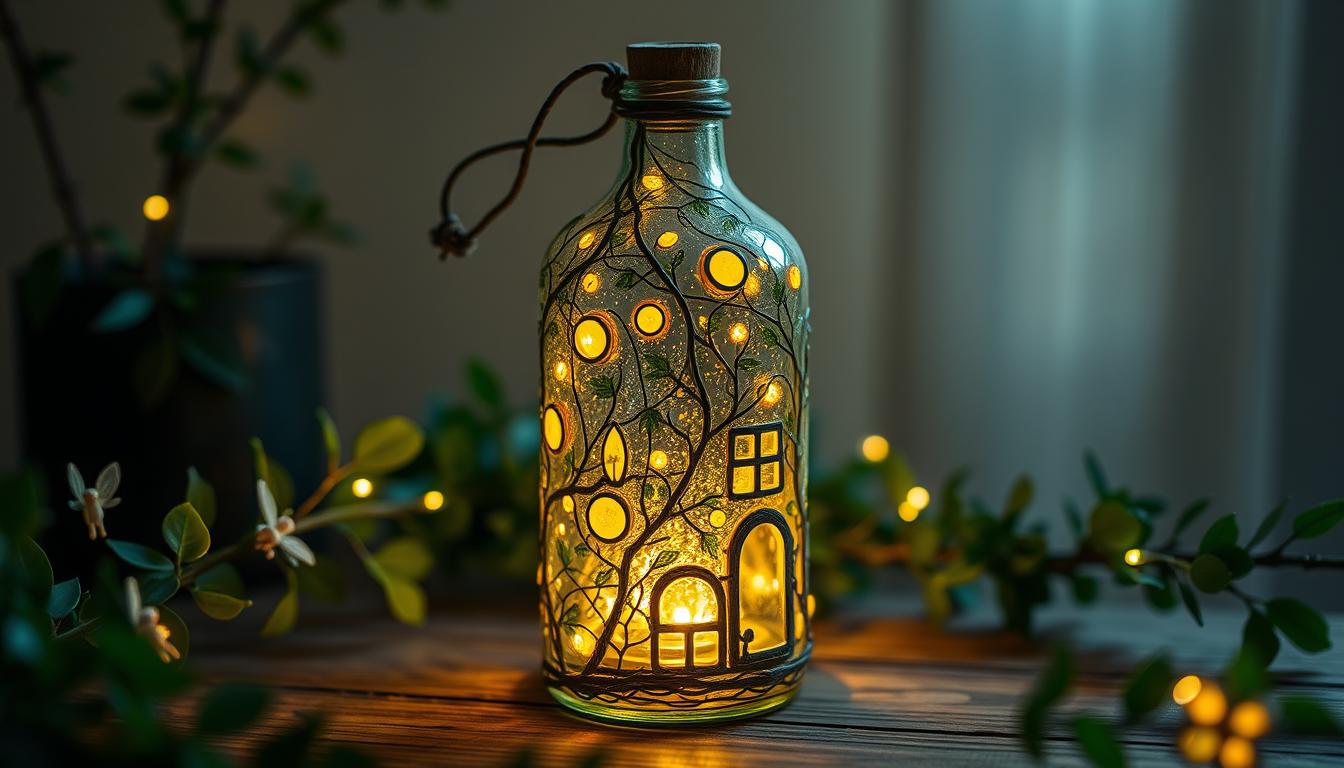
Upcycling an old container gives it a second chance at life. It becomes a beautiful piece of art that lights up your space. You’ll need to pick the right container, get it ready, and then decorate it. This way, you’ll create a fairy lantern house that’s truly enchanting.
Key Takeaways
- Transform an old container into a unique decorative piece.
- Contribute to reducing waste and promoting sustainability.
- Create a beautiful, glowing fairy lantern house.
- Give new life to an old, discarded item.
- Illuminate your space with a stunning piece of art.
The Magic of Creating Fairy Lanterns from Recycled Bottles
Turning recycled bottles into fairy lanterns is a fun way to reduce waste. It also brings magic to your home. By upcycling, you give old bottles a new life and help the planet.
Why Fairy Lanterns Make Perfect Home Decor
Fairy lanterns from recycled bottles add a cozy feel to your home. They look great on tables, shelves, or even outdoors. The soft light they give off makes your space warm and welcoming.
These lanterns are not just pretty; they also start conversations about being green. As we all try to live more sustainably, using upcycled items in our decor shows we care about the planet.
Environmental Benefits of Upcycling Glass and Plastic
Upcycling glass and plastic bottles into fairy lanterns is good for the environment. It cuts down on waste and saves resources. The EPA says recycling and upcycling are key to a greener future.
“Recycling is a critical component of a sustainable waste management strategy, helping to conserve natural resources and reduce greenhouse gas emissions.” – EPA
| Environmental Benefits | Description |
|---|---|
| Waste Reduction | Decreases the amount of waste sent to landfills |
| Conservation of Resources | Reduces the need for raw materials in producing new products |
| Energy Savings | Less energy is required for recycling and upcycling compared to producing new materials |
By upcycling and making fairy lanterns, you’re doing more than just decorating. You’re helping create a better future. Every small step we take can make a big difference for our planet.
Materials and Tools You’ll Need for Your Recycled Bottle Project
Before starting your fairy lantern project, gather the right supplies. Choosing the right materials and tools is key. It makes the crafting process smooth and eco-friendly.
By focusing on green design and environmentally friendly materials, you create a magical and sustainable fairy lantern. This approach reduces waste and makes something unique and beautiful.
Selecting the Perfect Bottle for Your Fairy House
First, pick the perfect bottle for your fairy house. Look for bottles with interesting shapes or colors. They should be wide enough for decoration and lighting.
Think about the look you want. An unusual shape adds whimsy, while a simple, clear glass bottle is more traditional.
Essential Crafting Supplies and Tools
With your bottle in hand, gather essential supplies. You’ll need a glass cutter, sandpaper, and paints and brushes for decoration.
For plastic bottles, use a craft knife or scissors for cutting. A hot glue gun is crucial for attaching decorations and parts.
| Supply | Purpose |
|---|---|
| Glass Cutter | Cutting glass bottles |
| Sandpaper | Smoothing edges |
| Paints and Brushes | Decorating the lantern |
| Craft Knife/Scissors | Cutting plastic bottles |
| Hot Glue Gun | Attaching decorative elements |
Optional Decorative Elements and Embellishments
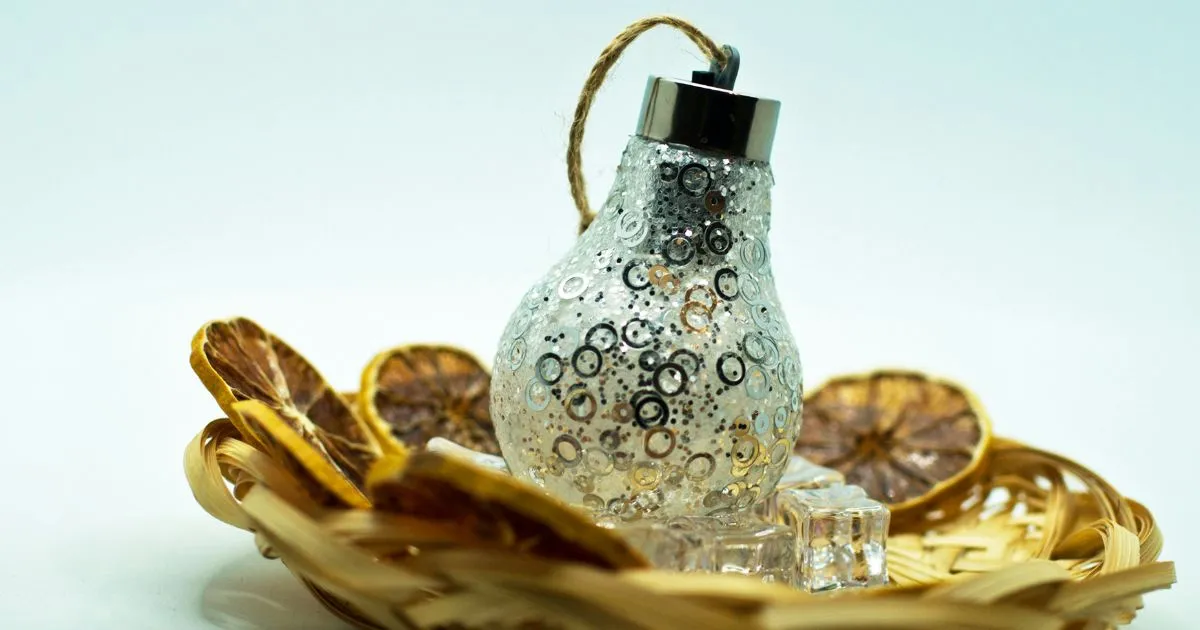
To make your lantern unique, add decorative elements. Use glitter, sequins, or small figurines inside or outside the lantern.
“The art of crafting is not just about creating something beautiful; it’s about the joy and satisfaction of bringing an idea to life.” – Anonymous
Choose eco-friendly materials for these embellishments. This boosts your project’s green aspect and adds a creative touch.
Preparing Your Recycled Bottle for Transformation
Before you start making your recycled bottle into a fairy lantern, you need to prepare it. This step is key to making sure your final product looks great and is safe and strong.
Cleaning and Removing Labels Effectively
First, clean your bottle well. Soak it in warm soapy water to get rid of dirt. Use a bottle brush to scrub off tough stains. For labels, try a baking soda and oil paste or a label remover. This makes your bottle clean and ready for decoration.
Planning Your Fairy House Design and Layout
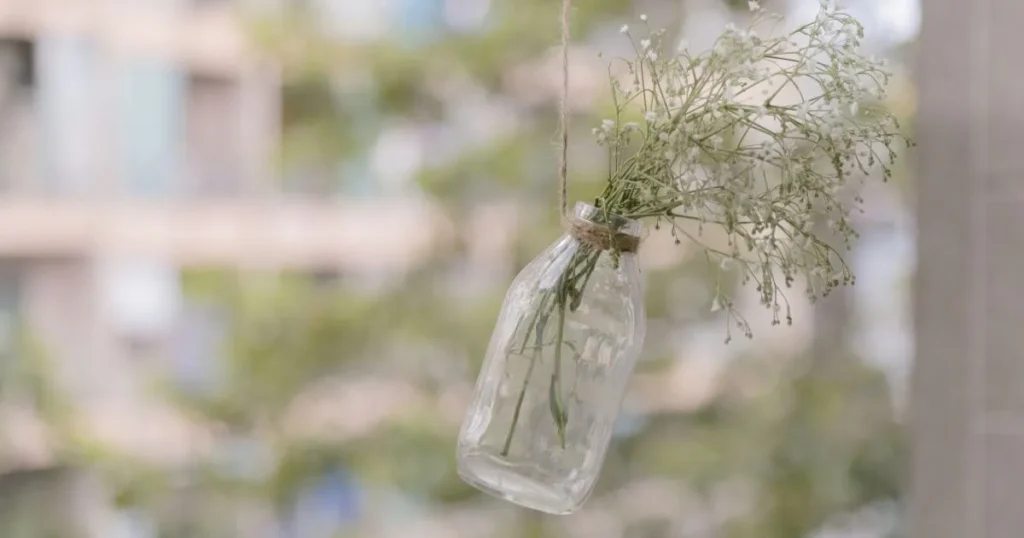
After cleaning, plan your fairy house design. Think about your bottle’s shape and size. Sketch out ideas or find inspiration online. Choose colors and decorations that match your style, like modern, rustic, or whimsical. Planning helps create a cohesive and magical fairy lantern.
- Consider the bottle’s shape and size
- Sketch out your design ideas
- Choose a theme or style for your fairy house
Safety Precautions When Working with Glass or Plastic
Working with glass or plastic bottles means safety first. Always wear gloves and safety goggles to avoid cuts or eye injuries. If using power tools or crafting supplies, work in a well-ventilated area and follow the instructions. These steps help you stay safe while being creative.
Key safety tips:
- Wear protective gloves and safety goggles
- Use power tools in a well-ventilated area
- Follow manufacturer’s instructions for crafting supplies
By following these steps and being careful, you’ll make a beautiful and unique fairy lantern from your recycled plastic bottle.
Step-by-Step Fairy Lantern Creation Process
With a few simple steps, you can turn an ordinary recycled bottle into a magical fairy lantern. This process involves several creative stages that will bring your fairy lantern to life.
Creating Windows, Doors, and Architectural Details
To start, you’ll need to create windows, doors, and other architectural details on your recycled water bottle. Use a glass cutter or a Dremel tool to carefully cut out shapes and designs. You can also use a hot glue gun to attach small pieces of glass or plastic to create intricate details.
- Use a glass cutter to score the glass carefully.
- Apply gentle pressure to break the glass along the scored line.
- Use sandpaper to smooth out any rough edges.
For added realism, consider adding miniature furniture or accessories inside your fairy lantern. This will give your creation a cozy, inviting atmosphere.
Adding Structural Elements and Textures
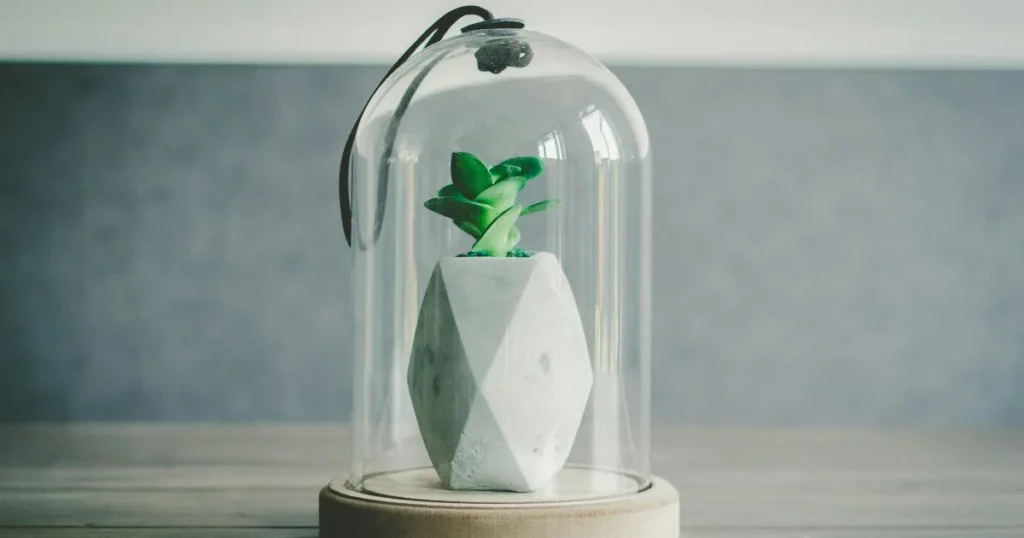
Next, you’ll add structural elements and textures to your fairy lantern. Use materials like twigs, moss, or small rocks to create a natural, earthy look. You can also use paint or varnish to add color and protect your creation.
- Apply a layer of glue to the outside of the bottle.
- Sprinkle moss or small rocks onto the glue.
- Allow the glue to dry completely before handling.
Experiment with different textures and materials to give your fairy lantern a unique character.
Applying Base Colors and Decorative Finishes
Now it’s time to add some color to your fairy lantern. Use acrylic paint to apply base colors and decorative finishes. You can also use a sealant to protect your design and give it a glossy finish.
- Choose colors that complement the natural materials you’ve used.
- Apply thin layers of paint, allowing each layer to dry before adding the next.
- Seal your design with a clear coat of varnish.
Consider adding a personal touch with hand-painted designs or patterns.
Installing Lighting Elements for the Magical Glow
The final step is to install lighting elements to give your fairy lantern a magical glow. You can use LED lights, fairy lights, or a small candle to create a warm, inviting ambiance.
- Choose a lighting element that fits inside your fairy lantern.
- Carefully place the lighting element inside the lantern.
- Test your fairy lantern to ensure the lighting is safe and even.
Be sure to follow safety precautions when working with electricity or open flames.
Conclusion: Displaying and Enjoying Your Fairy Bottle Lantern
Now that you’ve made your fairy lantern, it’s time to show it off. Use eco-friendly containers or sustainable packaging for any extra decorations. This will make your lantern even more special.
Put your fairy lantern in a garden or on a porch. It will make your outdoor space cozy and inviting. The soft light of the lantern will add magic to your area, perfect for summer nights or parties.
Displaying your fairy lantern lets you share your creativity with others. It’s a chance to enjoy the beauty of your handmade piece. So, be creative and have fun showing off your unique art!
FAQ
What kind of bottles can I use to make a fairy lantern?
You can use any recycled bottle, like glass or plastic. Look for bottles with cool shapes or colors to make your lantern stand out.
How do I clean and remove labels from my recycled bottle?
Soak the bottle in warm soapy water first. Then, scrub off any left-over residue with a soft brush. For tough labels, try baking soda and water or a label remover.
What kind of lighting elements can I use for my fairy lantern?
Use LED candles, fairy lights, or small string lights for a magical glow. Battery-operated lights are safer and avoid fire risks.
Are there any safety precautions I should take when working with glass or plastic?
Yes, wear gloves and safety glasses to protect yourself from cuts or broken glass. Work in a well-ventilated area and avoid harsh chemicals.
Can I use eco-friendly materials for my fairy lantern project?
Absolutely! Choose materials like recycled paper, natural dyes, or sustainable supplies to make your project eco-friendly.
How can I display my fairy lantern to maximize its magical effect?
Place your fairy lantern in a quiet, cozy spot like a shelf or mantle. Add greenery or fairy-themed items around it for a complete look.
Can I make fairy lanterns with children?
Yes, making fairy lanterns is a fun activity for kids. Just watch them when using glass or sharp objects and let them be creative.
What are some other creative ways to repurpose recycled bottles?
You can turn bottles into vases, pen holders, or bird feeders. Or use them as planters for small plants or herbs. Get creative and try different designs.

